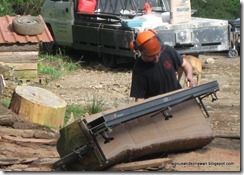
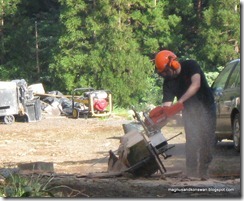
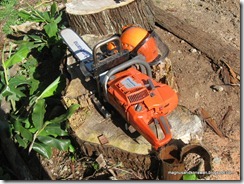
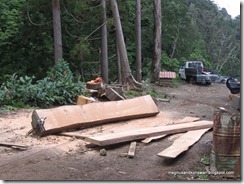
The house design that we created called for wooden beams and flooring on the second level of our new construction. We chose Cryptomeria Japonica as our timber source. Luckily the Azorean people began planting the trees on our land over 50 years ago and we inherited a nice grove of beautiful trees when we purchased the land. We were able to mill it ourselves using a Logosol guide system combined with a large chainsaw.
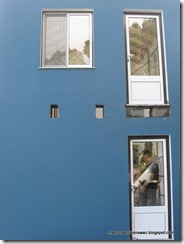
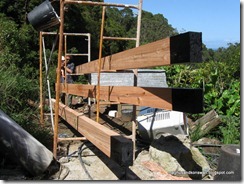
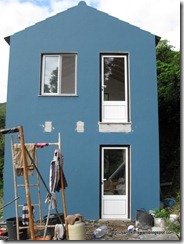
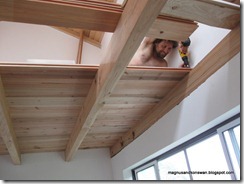
We decided on 10cm X 20cm Beams that would span the 5 meter distance of our bedroom. Fixed perpendicular to the beams we decided to use 3.5cm-thick boards. Since we did not have the wood prepared when the concrete work was done last year, we left 3 openings in the wall for the 5-meter beams to pass through and then insert into mirrored openings in the opposite wall.
Prior to inserting the beams, we painted the portions of wood that would be imbedded in the concrete with a tar paint to prevent wood rot. See below.
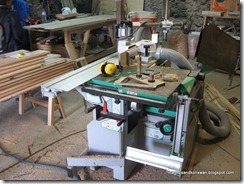
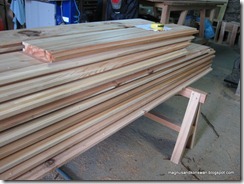
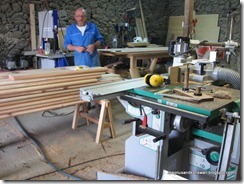
After placing the beams, Magnus contacted a friend to help prepare the floor boards by cutting them to length, and incorporating a ‘Tongue and Groove’ system to fit them together. This involved transporting the lumber across the island and back to the woodshop of Beru.
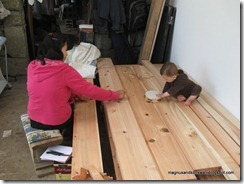
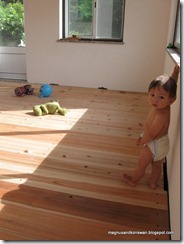
After transporting the floorboards back to our side of the island, Odin put them to good use as a play area, prior to their installation 2.5 meters above the bathroom floor!
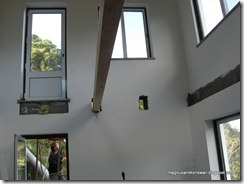
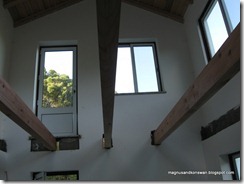
The remaining gaps in the wall were sealed with concrete on both inside and out, securing the beams from future movement.
Next, we installed the floor boards carefully fitting the tongues into grooves and screwing them to the beams.
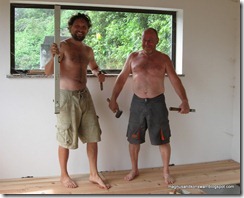
Magnus and Beru celebrated the completion of a wood flooring project and made way for the boss to inspect their craftsmanship.
Odin likes it!
